The Mixer Brush was added in Photoshop CS5. This new tool allows the user to simulate realistic painting techniques—mixing colors on the canvas, controls for the wetness of the brush, the amount of paint loaded on the brush and the mixing ratio. In addition, Photoshop added several Bristle Brush presets that have characteristics that can paint lifelike, more natural strokes. While you can select from several presets, you can also make modifications to your brush—controlling the shape, bristles, length, thickness, stiffness, angle and spacing.
One of the great features of the Mixer Brush is that you can paint from scratch or you can use an existing image to transform into a realistic painting. And it’s very easy!
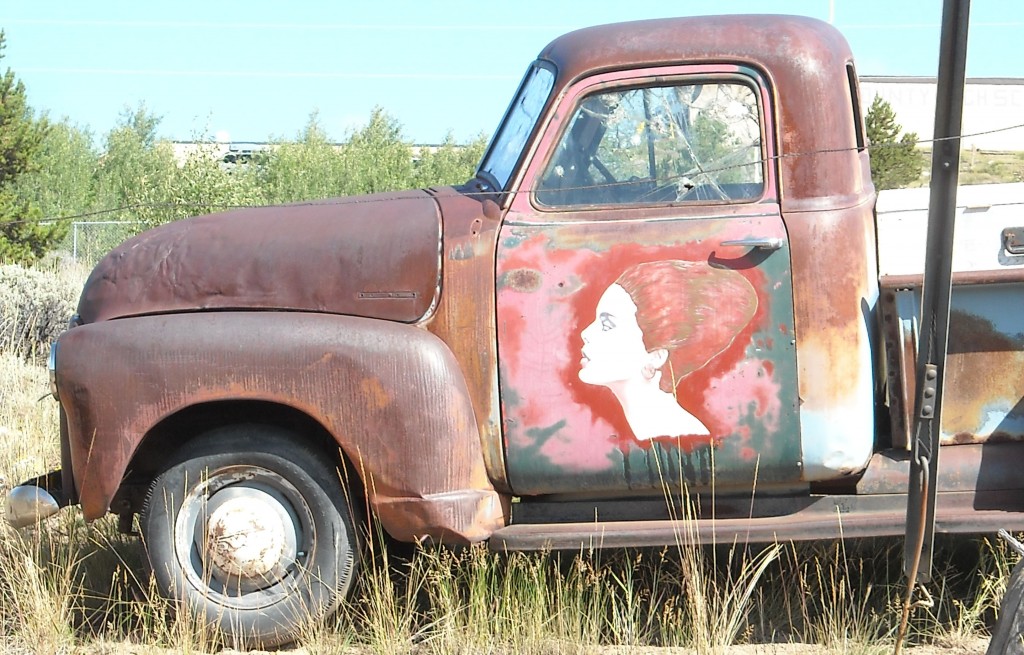
Step 1: Open the photo you want to use for your painting in Photoshop
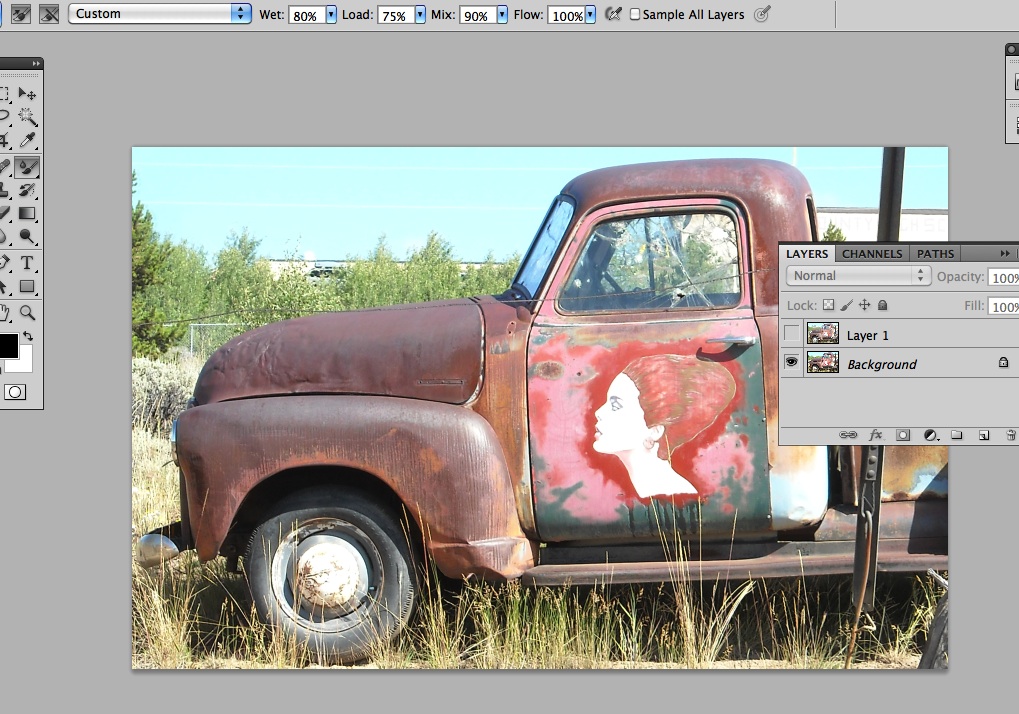
Step 2: You want to keep the original photo intact, so create a duplicate layer of your background layer
Step 3: You want to adjust the Mixer Brush settings so that you are using the colors from the original photo to paint. I recommend starting with a large brush and removing a lot of the detail from the original photo. The magic of the Mixer Brush is that you can add detail back in. In this step, select the Mixer Brush you want to use.
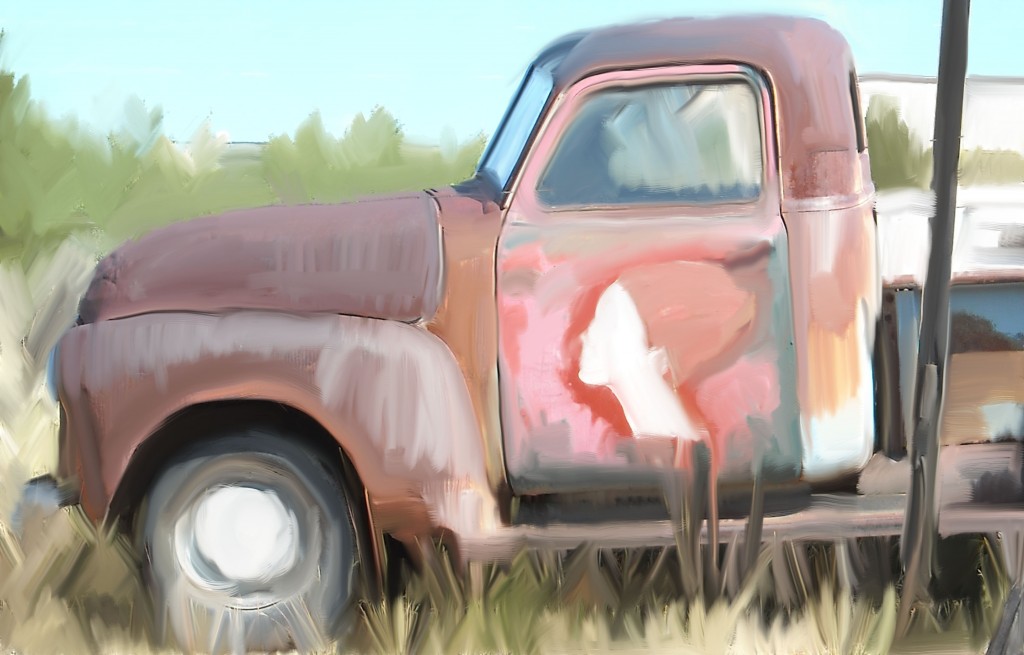
Step 4: The different settings that will affect how your brush color interacts with the canvas (original photo) are the wetness of the paint, the load of the brush, and the mix ratio between the paint and canvas. If you are pulling the colors directly from an image (like I did below), make sure “Load the brush after each stroke” is turned off in the Control panel. Experiment with the different settings until you find what works for you. I highly recommend painting in Photoshop using a Wacom drawing tablet—it recognizes pressure, angle and it is just easier to use than a mouse!
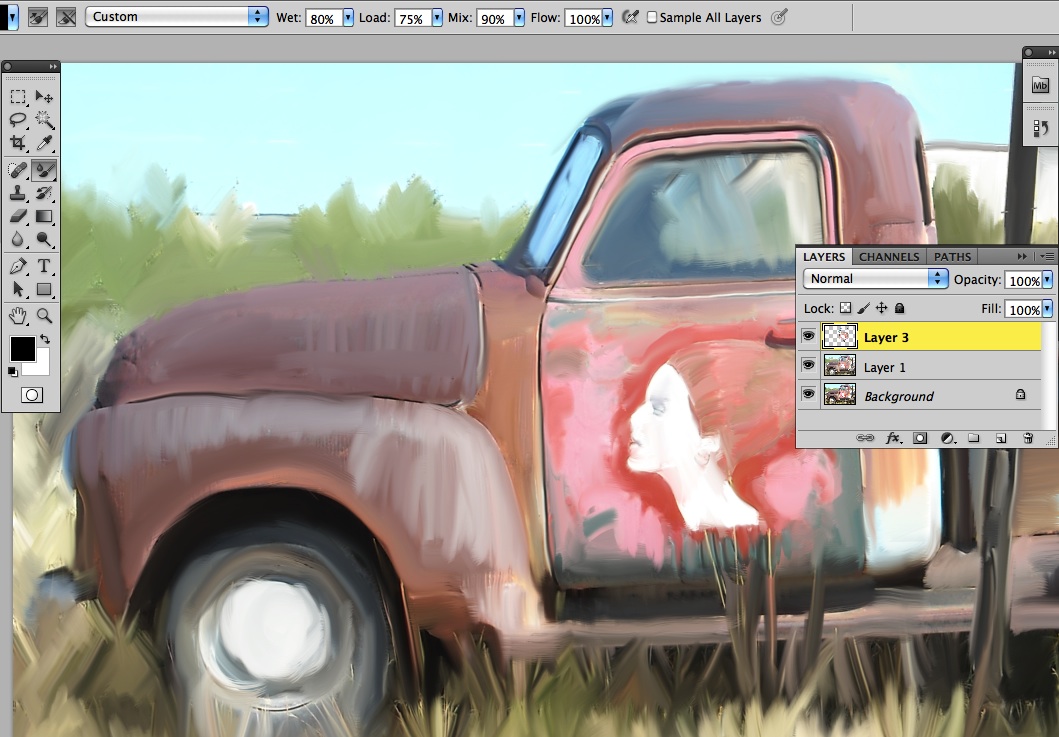
Step 5: In the step above, I used a large brush and painted over the original photo rather quickly, removing a lot of the detail. In the last step, I add some of the detail back in. I first decided what my focal point of the painting is. My favorite part of the photo is the door and I wanted to make it pop. So I added a new transparent layer to my Photoshop document to add more detail back into the truck door. When you are painting on the transparent layer you want to make sure you have “Sample All Layers” checked in the Control Panel—you can see I don’t have it checked in my example below. Use a smaller brush and paint back over the area you want to add detail. Important note: make sure you have your original layer you were painting on turned off when you are adding detail. I have added my detail back in—you can now see much more detail in the lady’s face on the truck door. This painting still needs some touch up, but I’m well on my way to having a painting from my original photograph!
[message type=”simple”]Interested in learning more about the Mixer Brush and the other great features in Photoshop? We offer small, hands-on Photoshop classes, taught by expert instructors. We teach from experience—not from a manual.[/message]


